How Much Does it Cost to Fit Lead Flashing/Aprons/Soakers?

Job Costs
| job | Description (with easy scaffolding access) | labour |
| 1 | Flashing a chimney with stepped cover flashings…as per the article below. 2 tradesmen 1 day | £350 |
| Plus materials, scaffolding etc for the above | £500 | |
| 2 | To do the same job to a chimney on the ridge of the roof, will require much more scaffolding and more materials as there are 6 flashing runs not 4. Also more tiles will be broken on the rest of the roof. 2 men 1.5 days | £525 |
| Plus materials, scaffolding etc for the above | £900 | |
| 3 | To just fit a new back gutter to an eaves chimney will still need scaffolding but will only take one man a day. Plus scaffolding & materials | £485 |
| 4 | To fit a new stepped cover flashing to all 4 brick parapet walls on a simple small “up and over” slate roof on a terraced house and no soaker replacement. They will work from ladders placed on the roof resting on the scaffolding platforms. 2 men 2 days. | £700 |
| Plus materials, scaffolding etc for the above | £950 | |
| 5 | Same job as above but to replace all the soakers as well. Add 2 more days plus more lead | £1000 |
| 6 | To fit a new lead apron flashing about 18 feet long, along the brick wall of your house where it meets a flat roof (to stop water getting into the garage for instance). This should take one man half a day plus materials. | £170 |
Information Sheet on Leadwork, Step flashing, Back Gutters and Apron Flashing
General Leadwork Information
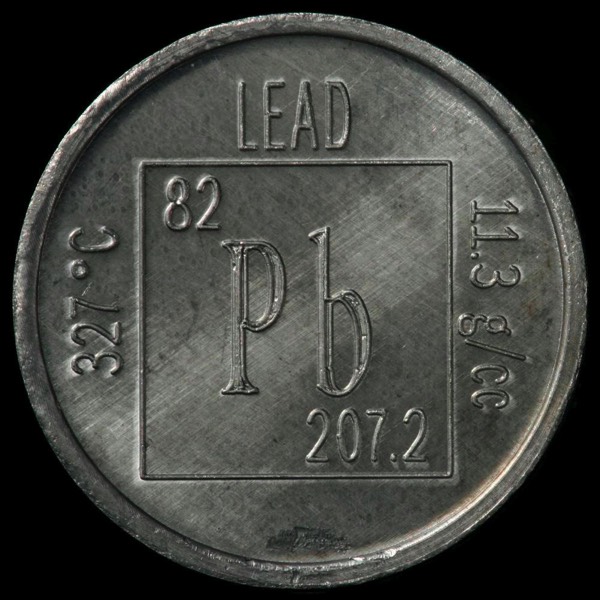
Plumbum is Latin for lead. That’s why a plumber is called a plumber, because he was the bloke who first used it. Now of course we call plumbers lots of other things, especially when he doesn’t turn up, or when we get his bill.
Lead, when fitted properly, beats every other form of “water keeper outer” used on roofs into a cocked (or any other kind of) hat!
It can be “worked” into any area and shape ever found on a roof and there are 2 ways of doing this.
By beating lead.
The traditional way, where the roofer literally bashes it with different shaped wooden tools, making the molecules move from one area to another to fit the required shape.
By burning lead.
The modern way, where it is cut into sections which are then soldered together to fit the required shape.
Either way, if a roofer fits it properly when he’s 25, it will easily outlast him!
Lead comes in 6 metre (20’) rolls, in various thicknesses (called codes – 3,4,5 etc.) and different widths from 6” (150mm) to 48” (1200mm). Different codes and widths are used, depending on what the lead is being used for and how long each individual section needs to be.
That’s the theory anyway!
Lead expands and contracts a great deal, if the roofer uses a length, which is too long relevant to its code (thickness), it will eventually buckle and split. i.e. code 4 lead is very common on domestic roofs but should never be used in lengths exceeding 1500mm. The width isn’t really relevant.
There are several areas where lead is used on roofs.
As the complete roof.
Usually that means small “flat” roofs, or when cladding domes or spires etc. (on castles usually, as people who own castles are the only ones who can afford the stuff).
As lead valleys
A valley is the joint between two adjoining sloping roof surfaces that the water runs down on its way to the guttering.
As lead flashings.
Flashings are found where a roof meets a chimney, or parapet wall (short upward extensions of the normal house wall, which forms the side of the building. They are one way of forming an edge to roofs), or skylight, or any other type of abutment.
As lead gutters.
Usually quite wide “hidden” ones, situated between the roof edge (the eave) and the back of a parapet wall at the front of older properties (those castles for instance).
As a lead repair.
A suitably sized sheet of lead is sometimes slid underneath, or used instead of, a broken or missing tile or slate, for various reasons.
So…
You have water coming in at the side of a brick chimney and the existing flashing is nothing more than a cement mortar “fillet” between the roof and the chimney (and that’s very common). You want the whole chimney lead flashed. It’s surrounded by slates or tiles and one roof slope (or pitch) sheds its water straight at it. It’s at the bottom of the roof in other words, not sitting up on the ridge where all the water runs away from a chimney.
Questions to ask the roofer during his quotation visit.
(He will be putting up scaffolding by the way).
What about the existing soakers?
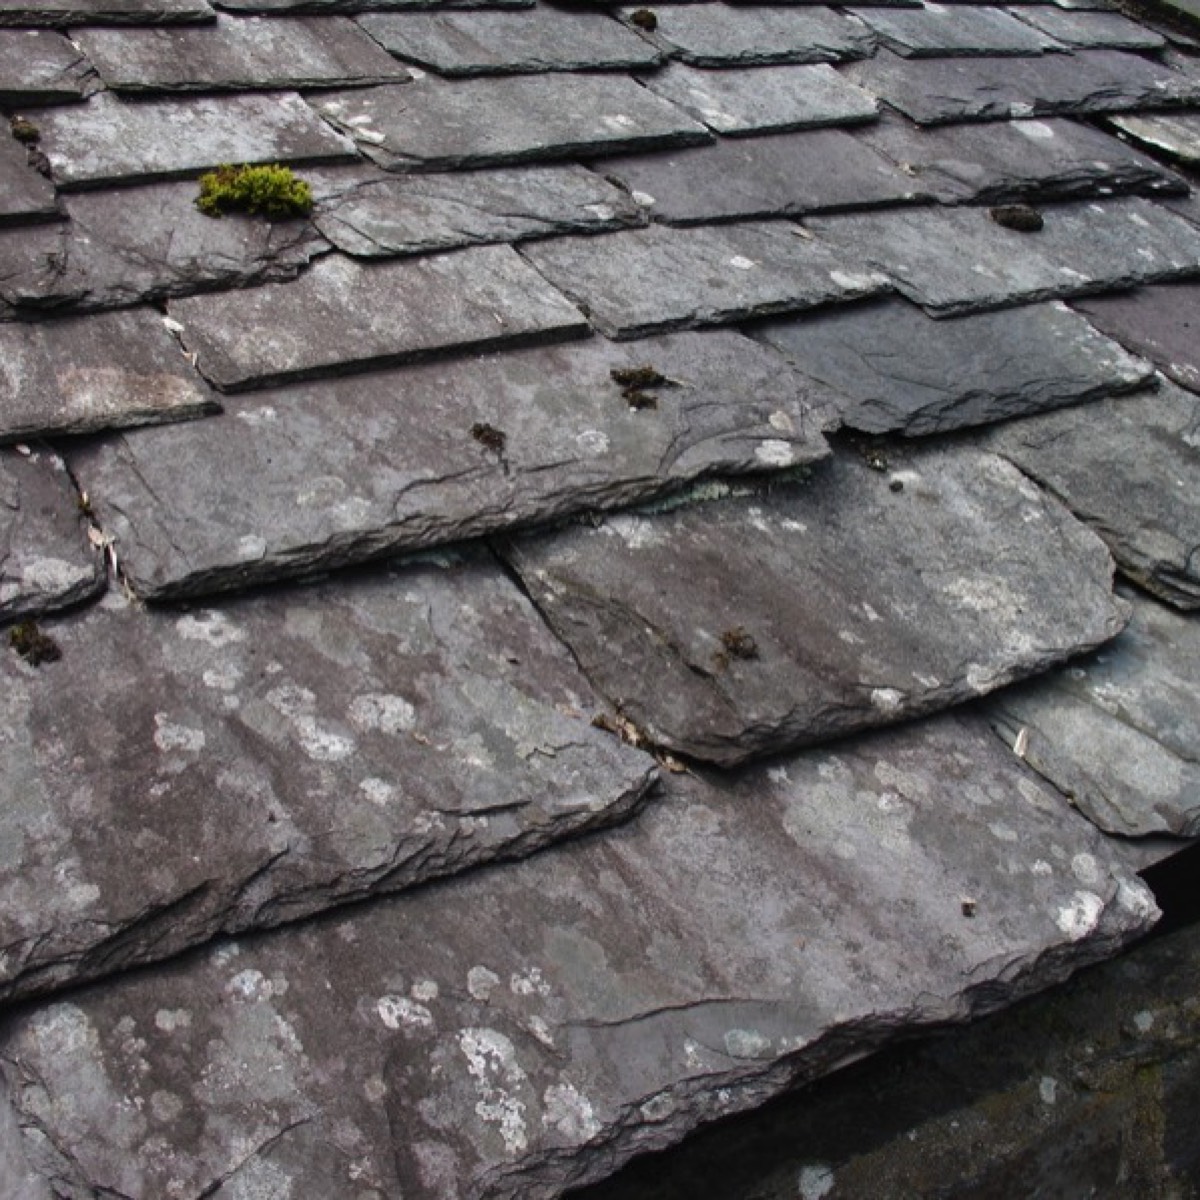
Now, you can’t even see these! But under each slate or tile fitted next to an abutment, is ideally, a small bent sheet of code 3 lead (that’s the thinnest type), this is the soaker. A soakers’ job is to shed any water that drips off the edge of the abutment tile and direct it straight onto the slate or tile or soaker below. Each tile has one, so the water ends up in the gutter! (Clever eh)?
Not so clever I’m afraid if the soakers are zinc. These will be old and pitted and need chucking! Lead however has a half life equal to uranium 963, (see our notes on re-lining reactor cores, paragraph 86, section iii).
If you are going to beat the lead, will you be fitting a code 5 back gutter?
That’s the name for the leadwork at the base of a chimney which has water pouring against it (so once again, one found at the bottom of a roof slope) It’s usually at the long side at the back where you can’t see it. It is actually a hidden gutter. This lead needs to be relatively thick if it’s being beaten, to allow it to be bent two ways at the same time, as it emerges on either side of the chimney.
Code 4 is Ok if he’s burning the lead by the way.
How wide will the back gutter be?
The flat gutter bit will be about 6” (150mm) wide, it will need to turn up against the chimney by 3” (75mm) and it will need to be dressed up under the slates at the bottom of the slope by about 9” (230mm). These will have to be removed and returned for this to happen. So, he will need to use minimum 18” wide (450mm) code 5 lead. He should also put a small curl around the edges by the way, to prevent compacting snow (in June), forcing its way past the lead. This isn’t a joke by the way, other than the hilarious June bit of course!
Getting the hang of this lead business are we?
Are you going to fit stepped cover flashings?
You have all seen lead flashings, usually fitted to exposed brickwork, which are literally stepped upwards as they go higher up the roof or chimney. He will be fitting one of these on each side, usually the 2 short sides. These step flashings will hang over the exposed tops of the soakers and will keep the rain out. However, if he is fitting stepped cover flashings, the lead he uses will have to be 6” (150mm) wider and be “dressed” (bent out) over the roof itself by that amount, to completely hide not only the soaker but a good deal of the slate or tile as well, this is a much better job!
If he does this he must use 12” wide (300mm) code 4 lead.
Apron Flashing
Now we come to the section of lead flashing on the remaining exposed long side of the chimney (this is the one you would lean your ladder against if you were insane enough to risk your wife’s wrath and have a go at it yourself). Actually your ladder is useless. It’s too short, too unstable, and it’s now used to balance all those crusty 15 year old pots of paint on, where it’s been hung in the garage since your granddad gave it to you when you got married (to your first wife).
This section is called the apron flashing, there’s not much he can do to bugg— mess this up except not quite get it to hang into the gutter. He must use code 4 for this and it will be at least 6” (150mm) wide.
He will actually begin with this section. Everything done on a roof must start at the lowest point! The last thing he will do therefore is…… bang on the door for his money!
Fixing
Lead is fixed to the brickwork by first belting out the existing mortar pointing between the relevant course of bricks to about ¾” (20mm), the lead is then bent into this slot so it hangs there. Lead wedges are cut from off cuts and these are hammered into the slot above the lead to keep it in position. These should be set approx. 18” (450mm) apart in long runs, or there should be one for each step, on step flashings.
The slot should then be pointed with mortar.
Related Jobs
Aerial
Chimney Pointing
Chimney Pots
Chimney Rebuild
Chimney Stack Removal
Fascia & Soffits
Gable End Rebuild
Gable Cladding
Gable Replacement
Gutter Cleaning
Gutter Replacement
Pointing Walls
Rendering/Pebbledashing
Scaffolding
Soil Stack
Aerial
Chimney Pointing
Chimney Pots
Chimney Rebuild
Chimney Stack Removal
Chimney Info
Fascia & Soffits
Gable End Rebuild
Gable Cladding
Gable Replacement
Gutter Cleaning
Gutter Replacement
Pointing Walls
Rendering/Pebbledashing
Roofing
Scaffolding
Soil Stack
FAQs 'traffic light' guide
-
What's easy about this job…
Open or CloseIt's extremely satisfying.
-
What's tricky about this job…
Open or CloseNothing if you 'know' lead.
-
Potential problems with regards to this job…
Open or CloseIf the tiles are incorrectly bedded, the tile being drilled could crack. This obviously will need replacing. Do you have a spare? It may not be easy to get a replacement that matches.
For all job costs click on the appropriate section below:
www.buildingsheriff.com
Copyright The Building Sheriff Ltd 2017


